Quickstart Guide
In addition to
Jolene
itself you will need Commons
BeanUtils, Commons Logging
and Log4J.
These can be configured in a similar manner to what is described below.
Setup Jolene library with IntelliJ
Setup Jolene library with Eclipse
Setup Jolene library with NetBeans
Setup Jolene library with IntelliJ
Libraries in IntelliJ can be configured to be project libraries or global
libraries. The screen shot below is for project libraries. Global
libraries are configured in the same way. Click the settings toolbar button and
chose the Project Structure option from the Project Settings dialog. Under
either Project Libraries or Global Resources -> Global Libraries - right click
and chose the add option. Browse to the folder where you extracted the Jolene
zip file.
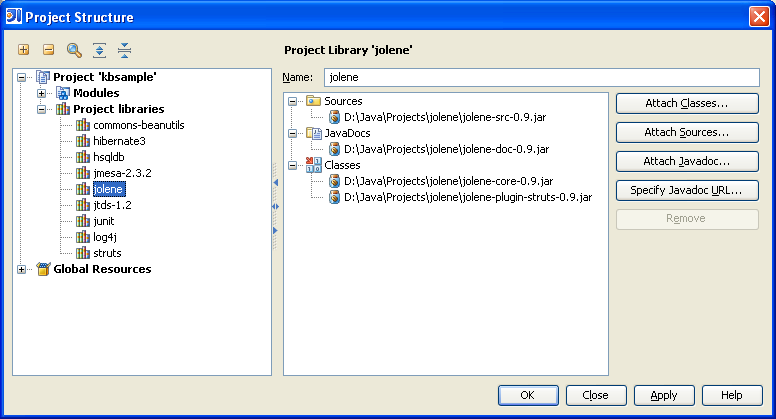
Once the library is added you can specify the source and doc folders as shown below.
Setup Jolene library with Eclipse
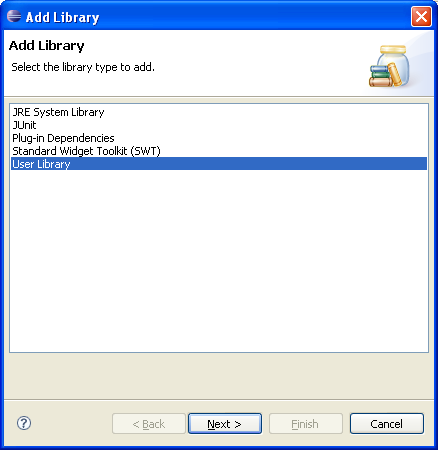
Under Eclipse chose Window -> Preferences and then navigate in the treeview to
Java -> Build Path -> User Libraries. In the User Libraries dialog click
New.
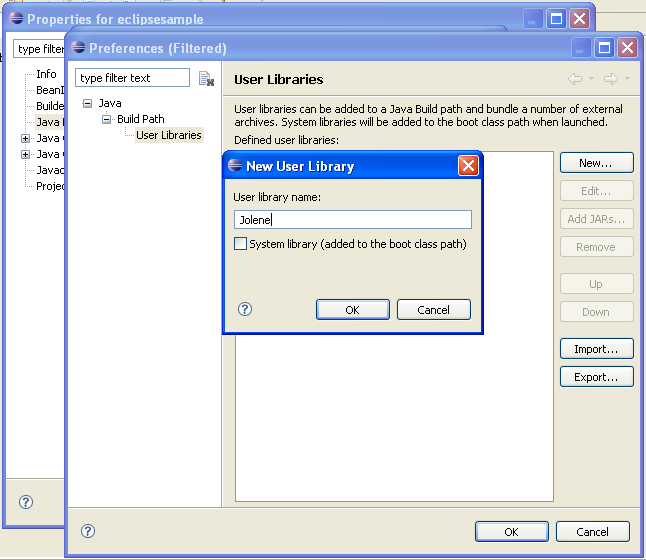
Enter Jolene as the name of the library.
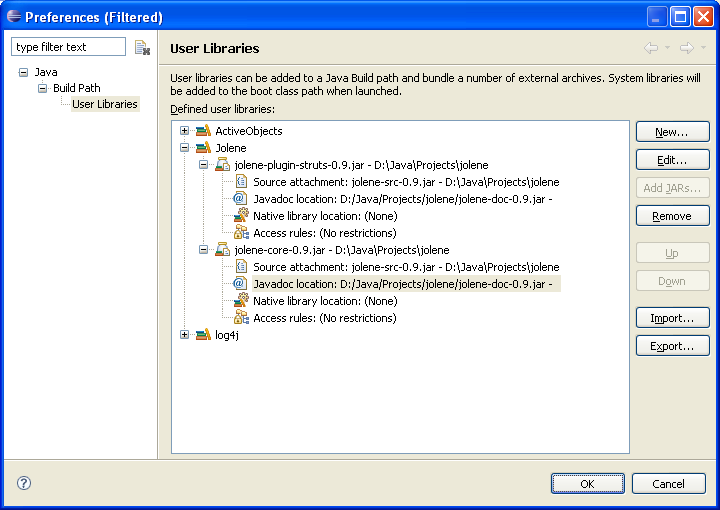
Highlight the Jolene project and click Add JARs. Browse and select jolene-core and jolene-plugin-struts (if struts is required). Expand each selection and you attach sources and Javadocs as shown below.
Setup Jolene library with NetBeans
With NetBeans browse the treeview for Libraries, right-click and chose Add
Library.
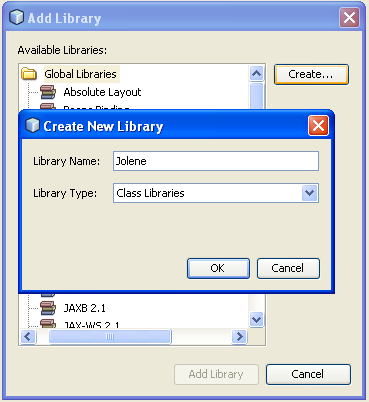
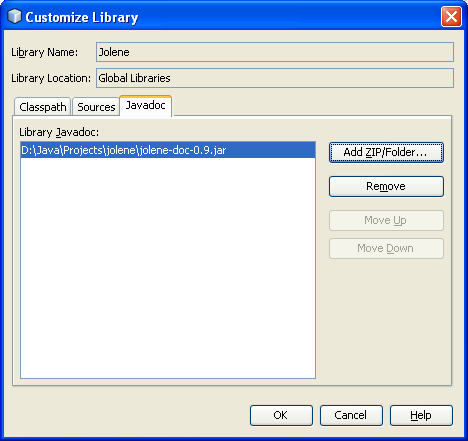
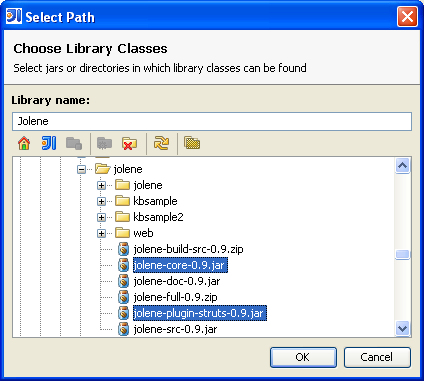
After you click Ok you can specify the class path, sources and Javadocs as per the screens below.
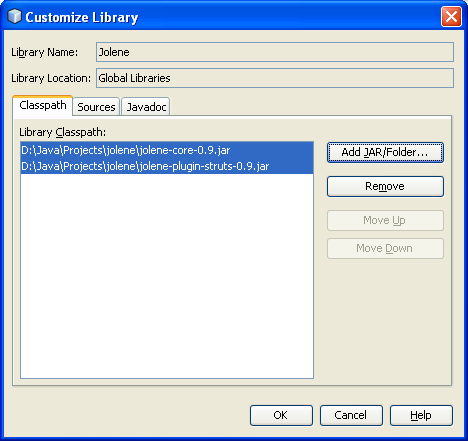
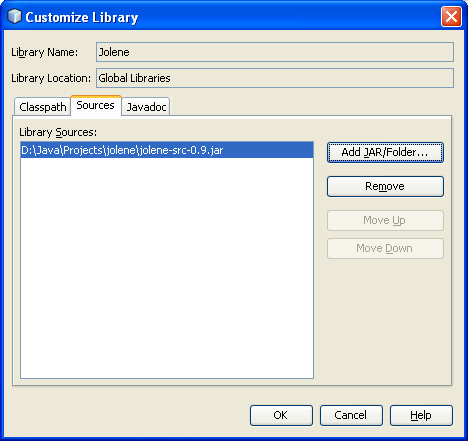
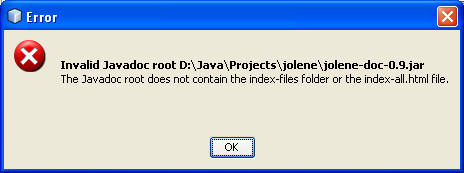
Note: In NetBeans 6.1 I get the following error message when selecting the Javadoc jar. The docs work fine so you can ignore the message.
